Go live in one evening
The minimum steps to start taking online bookings tonight — with no integrator.
This is Mountify’s big promise: a working booking page in one evening, without a developer and without a second system on the side. Realistically it’s six steps and about 30–40 minutes, once you’ve decided which services you offer.
Important right from the start: a new board is public from the moment it’s created — the Online booking switch is on by default. If you don’t want clients finding it while you tidy it up, turn it off now (step 5 shows where) and turn it back on when you’re ready.
What you need: a created board (see The setup wizard), a list of 2–5 services with durations and prices, and your opening hours.
1. Set your working hours
Navigation: Setup → Working hours.
The page is titled Working hours. At the top is a mode toggle with two options: Business hours (the venue’s hours) and Staff schedule (each person’s own hours). Stay on Business hours.
Under it are two tabs: Weekly hours and Holidays.

- If you have more than one location, a location row sits at the top. The hours you edit belong to the selected location — this page always writes to a location, never to an abstract “board”. With one location (the normal case after the wizard) there’s nothing to pick.
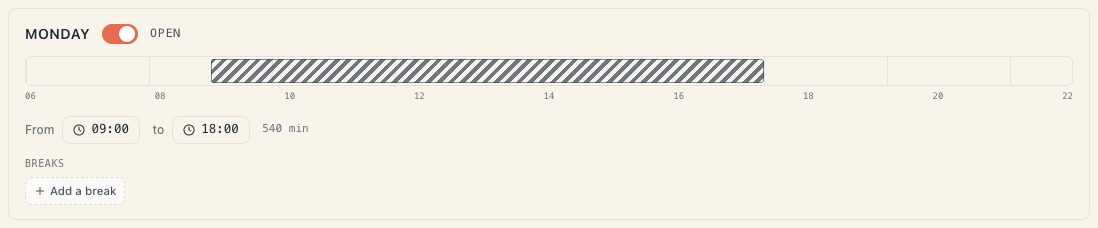
- Each day is a bar. Drag the edges to change start and end; drag the middle to move the whole block. There are also exact From and To fields.
- The switch beside a day makes it Open or closed.
- Above the grid there are two quick actions:
- Copy Monday to all — Monday’s hours replace every other day;
- Apply 9–18, Mon–Sat — the whole week becomes 9–18, Sunday closed. Both ask for confirmation (“Overwrite the whole week?” → Overwrite) and save immediately.
- Lunch break: Add a break on the day, then a start and an end.
The break rules, so you’re not left wondering why one won’t save:
| Rule | The message you’ll see |
|---|---|
| Up to 7 breaks per day | Up to 7 breaks per day |
| Minimum 15 minutes | Min 15 min |
| They can’t overlap | Overlaps another break |
| They must sit inside working hours | Outside working hours |
If you see “Add a location first — working hours live on each branch.”, the board has no location at all. Create one from Catalog → Locations and come back.
Holidays are on the other tab. A country’s public holidays are shown but do NOT close the salon automatically — if you don’t work that day, you have to close it yourself. See Closures and holidays.
2. Add at least one resource
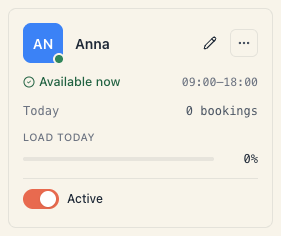
A resource is whoever or whatever gets reserved: a master, a chair, a room, a court, a piece of equipment. With no active resource, nothing can be booked.
Navigation: Catalog → under the TEAM & RESOURCES group, pick your kind (for example Masters).
- Press Add
at the top right (for example Add masters). There’s an Import option too, for a list from a file. - Type a name. The colour is assigned automatically and default hours follow the venue.
- Check the Available for booking switch. Only active resources take bookings.
The chip at the top — “3 / 15 spots”, say — is your plan’s limit, not the kind’s capacity. It counts active bookable resources across the whole workspace. Hit the limit and the activation switch is blocked with an explanation: “You’ve reached your plan’s bookable-spots limit. Deactivate another resource or upgrade your plan to activate this one.” See Your plan’s bookable-spots limit.
If a service requires two kinds (a master and a chair, say), you need at least one active resource of each.
3. Add one or two services
Navigation: Catalog → Offerings.

The button at the top right carries the word for a service in your trade — Service by default, but a tattoo studio says Session, a clinic may say Treatment. That’s normal, and it comes from the board’s preset.
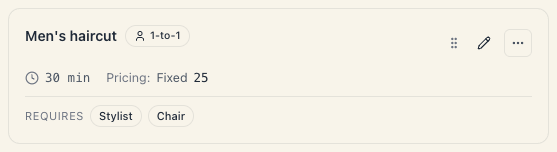
For each service, set the minimum:
| Field | Why it matters |
|---|---|
| Name | This is what the client sees |
| Duration | Sets the slot length on the schedule |
| Price | Shown to the client; without it no deposit can be taken |
| Resources & add-ons | Which resource kinds are needed — this decides whether the service is bookable at all |
Two or three services are enough to start. Everything else — groups, photos, deposits, discounts — is for later. In detail: Create a service.
If a warning appears beside a service saying it can’t be booked, the cause is nearly always step 2: it requires a resource kind with no active resource.
4. Verify there really are free times
Don’t skip this — it saves the nastiest scenario: a published page where the client sees “no free times”.
- Open Home (the board’s landing page).
- Look at the Needs attention card. If it says a service can’t be booked, press Fix or See why — Mountify names the exact cause, so don’t guess.
- When it’s clean it reads: “Everything is fine — nothing needs your attention.”
If something doesn’t add up, open Find out why a service shows no free times — the eight possible causes are listed there in plain language.
5. Style the page and publish it
Navigation: Setup → Public site. The page is titled Booking page.
There is no Save button here. Under the title it says: “Changes save and go live on your booking page automatically.” Text fields commit when you leave them. If you close the tab mid-typing, the browser warns you.
The first thing on the page is a large block with an Online booking switch:
- On: “Your booking page is live — customers can find you and book.”
- Off: “Your booking page is hidden — customers can’t book online yet.”
This is the only live/hidden switch. There’s no separate status to flip anywhere else.
Then, top to bottom:
- Page address — shows the full link and offers Copy link. Under it is the Address (the last part of the link) field.
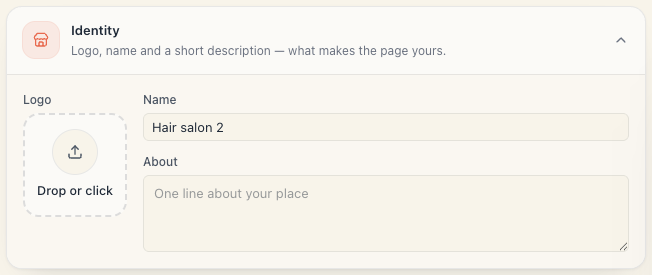
- Identity — Logo (square, PNG/JPEG/WEBP up to 5 MB), Name and About (one line).
- What’s the mood of your site? — ready-made moods in two groups, Light moods and Dark moods, plus Theme (Light/Dark) and Brand colour.
- More optional sections — photos, hero, socials, reviews, fine-tuning.
A Live preview runs on the right. On a small screen you open it with the Preview button. The Open page button at the top opens it in a new tab — exactly as a client sees it.
The address rules
| Rule | The error message |
|---|---|
| Lowercase letters, digits and hyphens only; 3–40 characters; no leading or trailing hyphen | ”Lowercase letters, digits and hyphens only (3–40 chars, no leading or trailing hyphen).” |
| The address must be free | ”That address is already taken — try another.” |
Changing the address breaks the old link. The hint says exactly that: “Changing it changes the link — the old one stops working.” Pick your address once, before you spread it around. And to be clear: there is no custom domain — you can’t point
www.your-salon.comat it.
6. Test booking and sharing
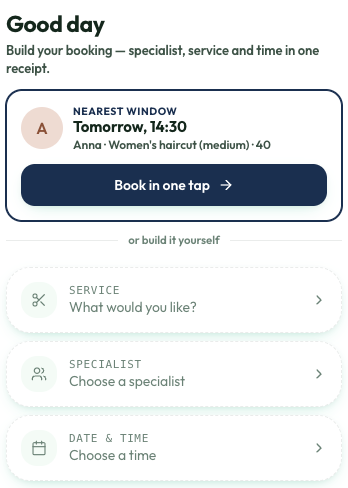
- Open the public page (Open page, or the Booking page button on Home).
- Book yourself as a client — with your real email. That tests the whole path: free times, form, confirmation.
- Find the booking in the Schedule, then cancel it so it doesn’t pollute your stats.
Only bookings made on the public page send email. If you test by typing a slot into the admin, you’ll receive nothing — and that isn’t a bug. See Confirmations and reminders.
How to spread the link:
- Copy link from Page address → Instagram bio, Google listing, email signature.
- QR code — on Home, next to the Booking page button. Print it for the window and the till.
- On your own website — Setup → Public site, the Embed tab. See Embed on your site.
The helper at the bottom right
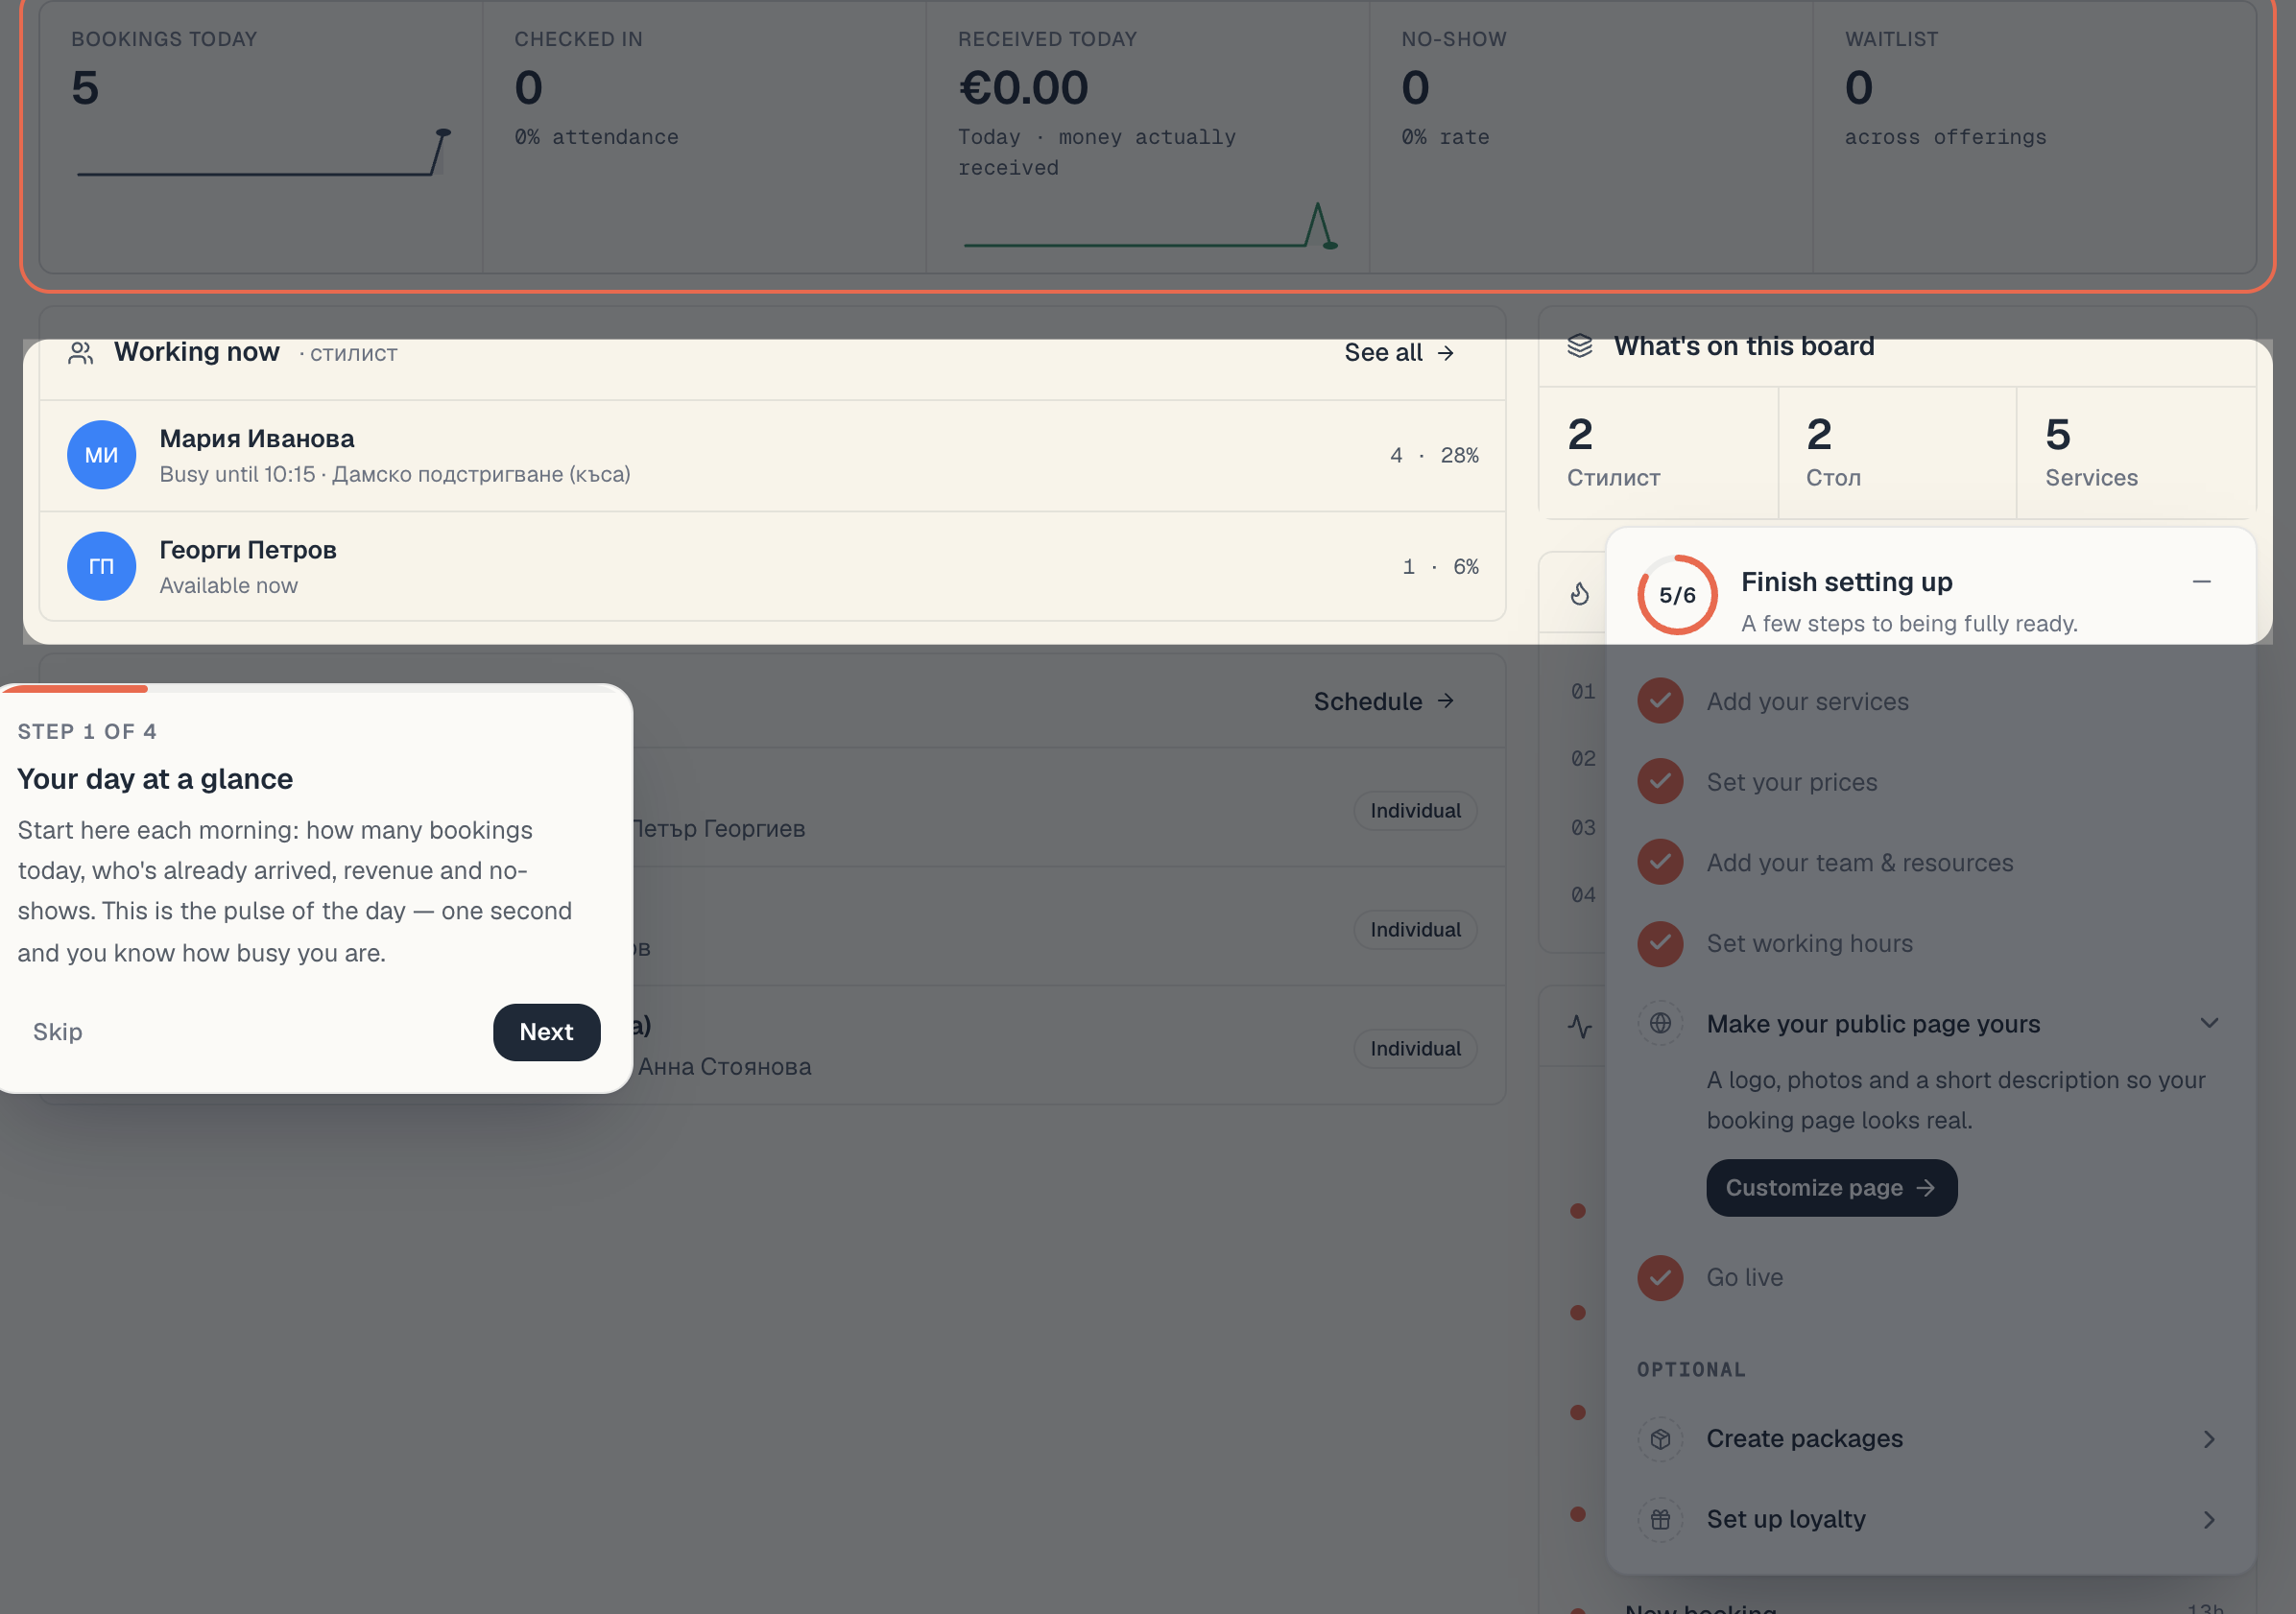
Until the board is ready, a small checklist pill hangs at the bottom right. It lists exactly these steps: Add your services, Set your prices, Add your team & resources, Set working hours, Make your public page yours, Go live, and optionally Create packages and Set up loyalty. Each row has a hint and a button that takes you to the right place.
The pill disappears by itself once everything required is done. It can’t be dismissed for good — it collapses so it stays out of the way.
What you do NOT need for a first booking
Don’t take these on tonight:
- online payments and deposits — it all works without them; the client pays on site;
- loyalty, promo codes, banners;
- packages and memberships;
- a second location;
- team invitations — you can be on your own at first;
- embedding on your own site.
Troubleshooting
| Symptom | Cause and fix |
|---|---|
| The public page is empty / “no free times” | No active resource of the kind the service requires, or no working hours for that day. Check Needs attention on Home. |
| I see slots in the admin but the client doesn’t | The classic case. Several causes are possible (inactive resource, a service with no location, specializations, time off). Work through Find out why a service shows no free times. |
| The board says Not bookable | Online booking is on, but nothing is bookable. See steps 2 and 3. |
| The Available for booking switch won’t turn on | You’ve hit your plan’s spots limit. Deactivate another resource or buy a spot. |
| ”That address is already taken” | Pick a different page address. |
| I can’t change the working hours | There’s no location. Create one from Catalog → Locations. |
| The client booked but got no email | Check they entered an email and that the booking came through the public page. Manual bookings send nothing. |
Common questions
Will clients find me on Google right away? Don’t count on it on the first evening. Spread the link yourself — Instagram, your Google listing, a QR code in the window.
Can I go live for just a few known clients first? Yes. Simply don’t spread the link. The page is only reachable at that address.
Do I need Stripe to take bookings? No. Online payment is an extra. Without it the client pays on site and you record the money under Money.
Can I add services later? Of course. Add the minimum tonight and fill in as you go.
If I turn “Online booking” off, do I lose bookings? No. Existing bookings stay; the page just stops taking new ones.
What’s next
- Trial & going live — what you get for 14 days.
- Connect Stripe — when you’re ready for deposits.
- Invite your team — when you’re not on your own.
- The calendar — the daily work after that first booking.